Creating and using a SceneGraph can done in an idiomatic way without all the verbose code of constantly adding nodes to a parent. LittleKt offers a DSL to do this very easily and enjoyably.
Create a SceneGraph
In the SceneGraph and each Node exists a DSL method that creates the node and adds it directly to the the parent Node or SceneGraph.
val scene = sceneGraph(context) {
    // we are in the SceneGraph context - we can add nodes here!
}.also {
    it.initialize() // we must call initialize before calling 'update()'
}
The SceneGraph, by default, will use a ScreenViewport. If we want to use a different viewport, we can pass that in through both the constructor or the DSL. We can also pass in our own instance of a SpriteBatch that will be used internally by the scene graph for doing any sort of rendering. This can be useful if we want to lower draw calls. Do note that if we do pass in our own instance, we still need to manage and dispose it ourselves. If none is passed in, then a new instance will be created and managed by the SceneGraph itself.
Before we can use the SceneGraph, we must first ensure we call the initialize() method. This will initialize the root Node and trigger the root.onPostEnterScene() lifecycle method. The reason we must explicilty intialize the graph is due to needing to pass in the instance of SceneGraph to the root in order to start the Node initializing and lifecycle callbacks on a non-final method. Because we can extend a SceneGraph, the Kotlin compiler warns us to not access non-final properties or methods in a partially constructed object.
The SceneGraph is also an InputProcessor. This is used mainly for determining input on the user interface nodes. When the scene graph is first created, it will add itself to the contexts list of input processors. When the scene graph is disposed, it will remove itself from that list.
Adding Nodes
Adding nodes to a scene graph is just as easy as creating the scene graph.
val scene = sceneGraph(context) {
    node { // Node context - we can set any variable from Node here
        // 1
        name = "I am a parent!"

        onReady += {
            println("$name is ready!")
        }

        node {
            // 2
            name = "I am a child!"

            onUpdate += { dt ->
                println("update $name")
            }
        }
    }

    node {
        // 3
        name = "I am a sibling!"
    }
}
The order of operations here when creating a new node is, from top-to-bottom order a node instance will be created, the builder action is invoked, and then it is added to the parent.
This allows for the children to be added to the parent Node from bottom-to-top order before they are added to the scene.
For example, the scene graph above would be like this:
- Node 1 is created:
Node(). - The
actioncallback inside Node 1 is then invoked. This will set the name of the node to “I am a parent!” and then it will create node 2:Node(). - Node 2
actioncallback is then invoked and sets its name to “I am a child!”. - Node 2 will then add itself to the parent context, which would be Node 1:
Node.addTo(node). - Node 1 will then add itself to the parent context, which would be the root Node:
Node.addTo(root). - Node 3 is created:
Node(). - Node 3
actioncallback is then invoked and sets its name to “I am a sibling!”. - Node 3 then adds itself to the parent context, which would be the root Node:
Node.addTo(root).
Using a SceneGraph
Once a SceneGraph is created, we need to call the update() and render() methods in Context.onUpdate in order for the nodes to do any updates and rendering. We will also want to make sure is receives resize events as well.
onUpdate { dt ->
    scene.update(dt)
    scene.render()

    // we will need to make if we do other rendering with another camera / viewport
    viewport.apply(context)
    // create render pass & draw soemthing else
}

onResize { width, height ->
    viewport.update(width, height)
    scene.resize(width, height)
}

onRelease {
    scene.release() // disposes managed SpriteBatch, if it exists, and removes itself as an input processor
}
Using custom InputMapController
If we used the default sceneGraph method for creating a new instance of SceneGraph we may have noticed that there is another method that we can use that takes in an InputSignal type along with an option of using our own InputMapController.
By passing in our own InputMapController we have the advatange of setting our own input mapping for how the UI is triggered, such as when a button is pressed using a keyboard or how Control nodes focus are cycled.
Luckily, if we want to use the default bindings with our own input type, a helper method exists creating them easily. But first, we must define our UI input types, which again can of any type as long as they are the same:
enum class InputMap {
    // ui related inputs
    UI_LEFT,
    UI_RIGHT,
    UI_UP,
    UI_DOWN,
    UI_ACCEPT,
    UI_FOCUS_NEXT,
    UI_FOCUS_PREV,

    // player related inputs
    MOVE_LEFT,
    MOVE_RIGHT,
    MOVE_UP,
    MOVE_DOWN,
    HORIZONTAL,
    VERTICAL,
    MOVEMENT,
    JUMP
}
Next we must create a new UiInputSignals instance and pass in our InputMap types for our UI signals:
val uiSignals = SceneGraph.UiInputSignals(
    uiLeft = InputMap.UI_LEFT,
    uiRight = InputMap.UI_RIGHT,
    uiUp = InputMap.UI_UP,
    uiDown = InputMap.UI_DOWN,
    uiAccept = InputMap.UI_ACCEPT,
    uiFocusNext = InputMap.UI_FOCUS_NEXT,
    uiFocusPrev = InputMap.UI_FOCUS_PREV
    // there are a few additional that we purposely skipping. if left null they can't be triggered in the UI.
)
Once we have our UI signals defined, we can do one of two things to set it on our own InputMapController.
Create a new controller with the default UI signal bindings:
val controller: InputMapController<InputMap> = createDefaultSceneGraphController(context.input, uiSignals)
Add the default UI signal bindings to an existing controller:
val controller = InputMapController<InputMap>(context.input)
controller.addDefaultUiInput(uiSignals)
Once added, they are set and ready to be used internally by Control nodes. We can also set our own custom bindings for the UI signals if we don’t like the default values, just like any other binding:
controller.addBinding(InputMap.UI_ACCEPT, listOf(Key.SPACE, Key.ENTER), buttons = listOf(GameButton.XBOX_A))
Debugging
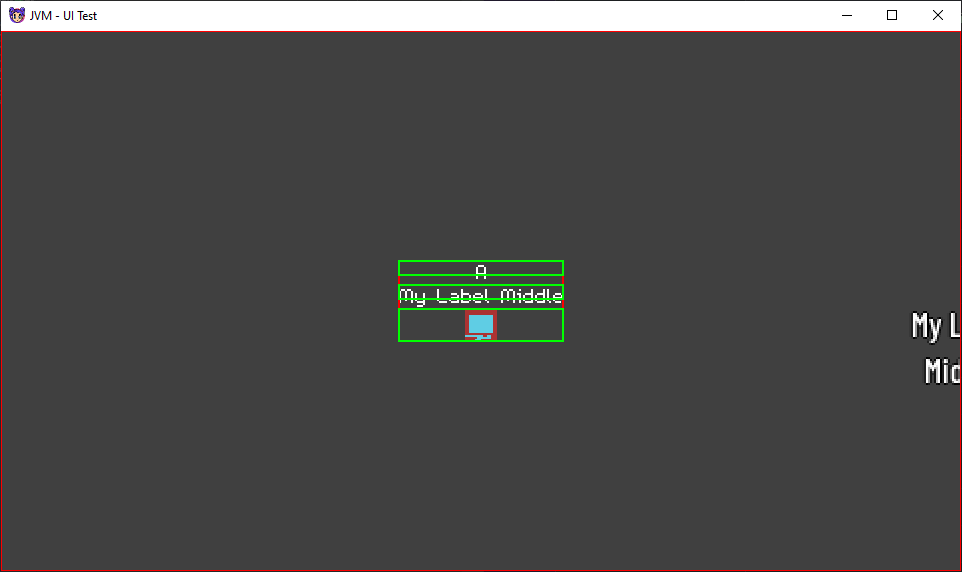
The scene graph contains a flag showDebugInfo that is set to false by default. Setting this to true will allow the CanvasLayer to call the interal debug render method to allow propagation through the tree. This will ultimately invoke the debugRender method in a node.
A Control node, by default, overrides the debugRender and will render the bounds of the node. This is useful for helping with positioning of the UI.